
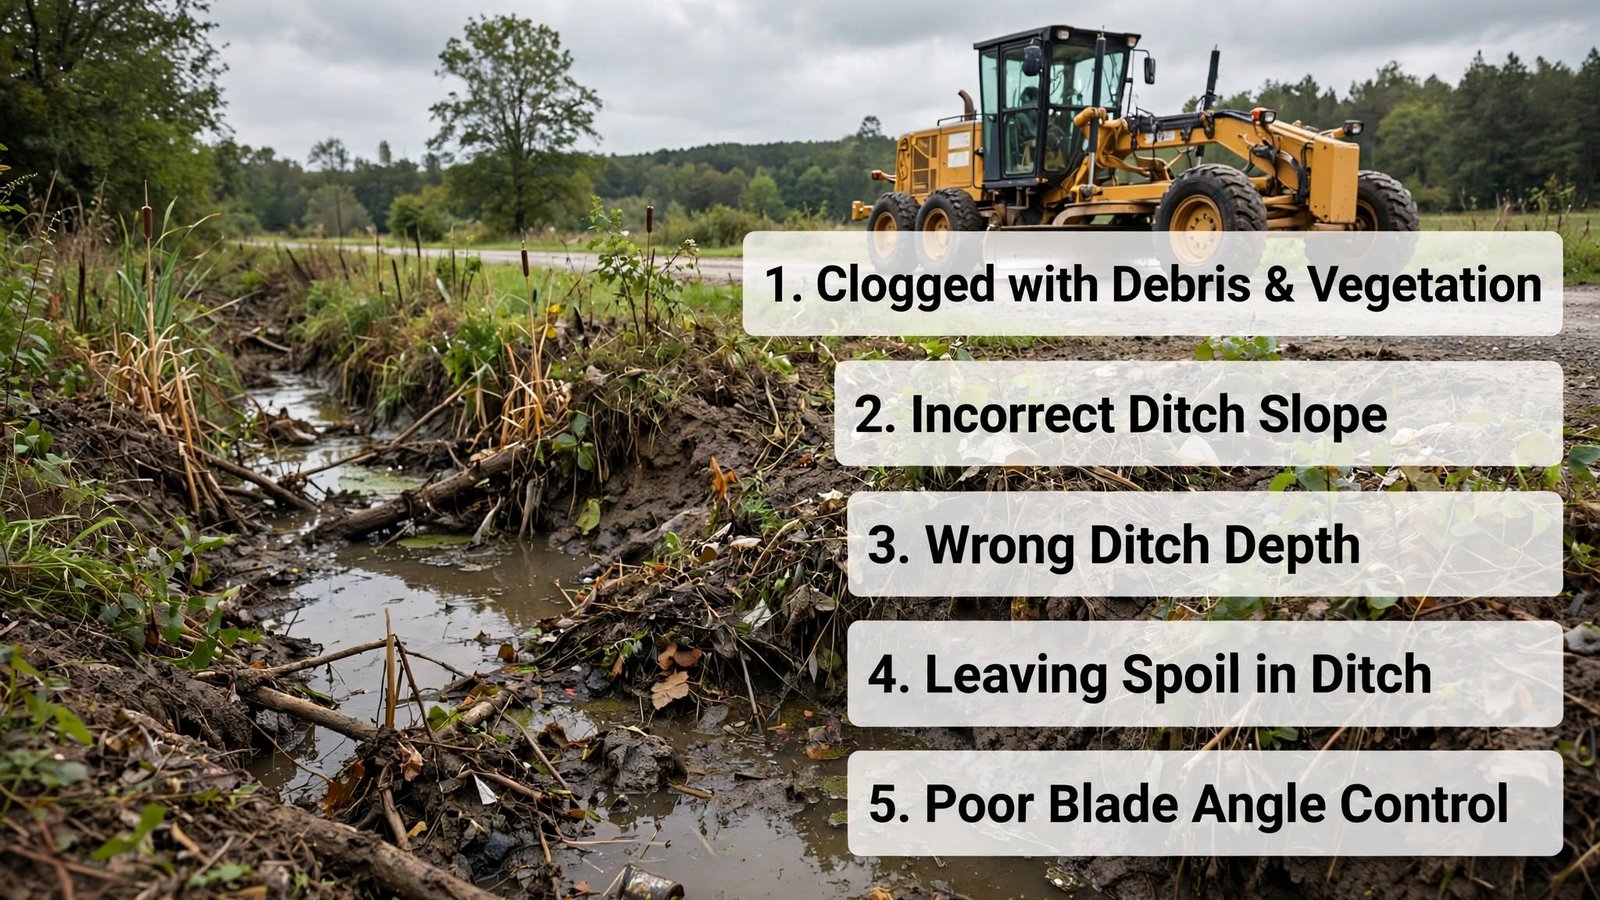
Motor grader ditch cleaning problems destroy roads. Water seeps under the pavement. It softens the base. It cracks the surface. A working ditch carries water away. A failed ditch floods the road. This post covers 5 common motor grader ditch cleaning problems. You will learn the cause of each problem. You will learn the fix. Apply these solutions to your next road job. Keep water away from the road. Protect the road structure.
A ditch is a designed channel. It has a depth. It has a slope. It has a shape. Each error breaks one of these design elements. Water stops flowing. Water backs up. The road pays the price.
Table of Contents
Wrong Ditch Depth
The first of the motor grader ditch cleaning problems is wrong depth. A shallow ditch cannot carry water. A deep ditch erodes the banks. Both errors stop proper drainage.
Set the ditch depth to match the road crown. The ditch bottom sits 12 to 24 inches below the shoulder edge. This depth carries normal rain flow. This depth does not erode the banks. The fix starts with the correct depth.
A county crew cleaned a ditch too shallow. Rain backed up onto the shoulder. Water seeped under the pavement. The edge cracked within one season. The repair cost 9000 dollars. A deeper ditch would have carried the water away. This mistake cost the county far more than the original ditch work.
Check the ditch depth with a level or grade rod. Test every 200 feet. Adjust the blade until the depth matches the target. This correction takes minutes per section.
Wrong Ditch Slope
The second of the motor grader ditch cleaning problems is wrong slope. Water needs a downhill path. A flat ditch holds water. A ditch sloping the wrong way pushes water onto the road. Both errors flood the road.
Set the ditch slope 1 to 2 percent downhill. This slope moves water steadily. This slope does not erode the ditch bottom. This adjustment keeps water flowing.
A road crew cut a flat ditch on a two mile road. Rain sat in the ditch for days. Water soaked into the subgrade. The road softened. A truck cracked the pavement. The repair cost 11000 dollars. A 1.5 percent slope would have drained the water. This oversight caused the road failure.
Check the ditch slope with a level or laser. Test the flow after rain. Standing water means the slope is wrong. Adjust the ditch grade until water flows away. This step prevents road damage.
Wrong Ditch Shape
The third of the motor grader ditch cleaning problems is wrong shape. A V ditch works for narrow shoulders. A flat bottom ditch works for wide shoulders. A round ditch works for soft ground. The wrong shape for the conditions causes erosion or poor flow.
Match the ditch shape to the road design. Check the road plans. Check the shoulder width. Check the soil type. Correcting these motor grader ditch cleaning problems starts with the right shape.
A crew cut a V ditch on a wide shoulder road. The V shape eroded the banks. Silt filled the ditch bottom. Water backed up. The road flooded. The repair cost 8000 dollars. A flat bottom ditch would have handled the flow. This poor shape wasted the ditch work.
Set the blade to the correct shape. Cut the ditch in layers. Check the shape with a template or level. Adjust the blade until the shape matches the plan. This modification keeps the ditch working.
Debris and Silt Buildup
The fourth of the motor grader ditch cleaning problems is debris buildup. Leaves, branches, and silt collect in the ditch. The flow stops. Water backs up. The ditch becomes a dam.
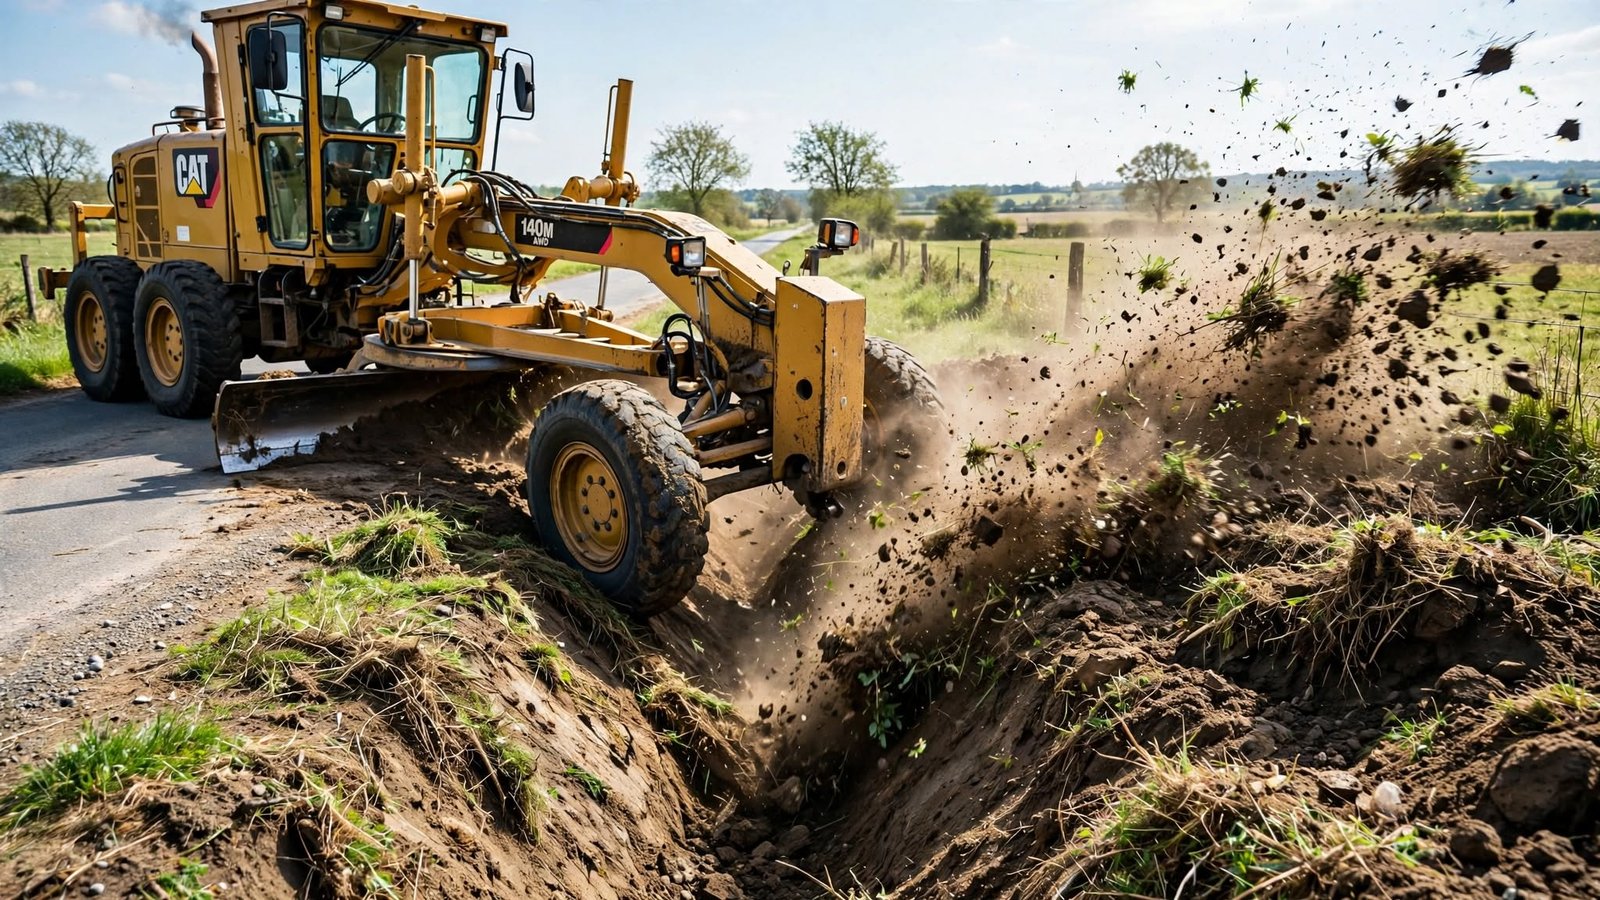
Remove debris before cutting. Clear the ditch line with hand tools or a loader. Cut the ditch after the debris is gone. Resolving these motor grader ditch cleaning problems starts with a clean trench.
A crew graded a ditch without removing debris. The blade pushed leaves and branches into a pile. The pile blocked the flow. Rain backed up onto the road. The road flooded. The repair cost 7000 dollars. Debris removal would have prevented the flood. This failure cost far more than the cleanup work.
Check the ditch after each pass. Remove new debris. Keep the flow path clear. This habit protects the road.
Wrong Blade Angle for Ditch Work
The fifth of the motor grader ditch cleaning problems is wrong blade angle. The blade must cut the ditch bank. The blade must move material out of the ditch. A blade angled wrong leaves material in the ditch. A blade angled wrong cuts too deep. Both errors stop proper drainage.
Set the blade angle 30 to 45 degrees for ditch work. This angle cuts the bank and moves material to the shoulder. The ditch stays clear. Fixing these motor grader ditch cleaning problems keeps the trench open.
A road crew used a 60 degree blade angle on a ditch job. The blade cut too deep. The ditch bottom dropped below the outlet. Water could not flow uphill. The ditch failed. The error cost a full day of rework. A 40 degree angle would have cut the correct depth.
Watch the material flow. Material should roll out of the ditch onto the shoulder. Material stuck in the ditch means the angle is wrong. Adjust one step at a time. This technique takes practice.
Connection Between Errors
These 5 motor grader ditch cleaning problems connect. Wrong depth stops flow. Wrong slope holds water. Wrong shape causes erosion. Debris blocks the path. Wrong blade angle leaves material behind. Each mistake weakens the road.
A crew that fixes all 5 motor grader ditch cleaning problems builds a ditch that works. Water flows away. The road stays dry. The repair costs drop. Addressing these issues pays for itself in reduced road damage.
Daily Routine to Prevent Errors
Start each ditch job with a plan. Check the depth target. Check the slope target. Check the shape target. Check the ditch for debris. Set the blade angle. Set the blade pitch. These steps prevent several motor grader ditch cleaning problems before work starts.
Run the first pass at low speed. Watch the material flow. Watch the blade position in the ditch. Adjust the angle and pitch. Stop and check the depth. Make corrections early. This routine prevents the same errors from repeating across the job.
Check the ditch after each pass. Remove new debris. Confirm water flows away from the road. Check the depth every 200 feet. Check the slope every 200 feet. Record the measurements. Untracked motor grader ditch cleaning problems show up in the numbers.
Training Programs
Train every operator on these 5 motor grader ditch cleaning problems. Show the correct depth. Show the correct slope. Show the correct shape. Show the correct blade angle. Show the debris removal. Practice on a short section. Correct errors on the spot. Avoiding windrow spreading errors is just as important as this.
One contractor trained three operators on motor grader ditch cleaning problems. The crew cleaned ditches on a 15 mile road. Flooding dropped to zero. Road edge repairs dropped by 60 percent. The contractor saved 25000 dollars over two seasons. Proper training paid back many times.
Equipment Checks
Check the cutting edge before ditch work. A sharp edge cuts the ditch cleanly. A worn edge tears the bank. Check the blade angle indicator. Check the slope gauge if equipped. Check the tire pressure. Low tire pressure changes the equipment height. The blade angle changes. These equipment checks reduce motor grader ditch cleaning problems.
Safety Around Ditch Work
Ditch work happens near traffic. Flaggers control the road. The operator watches for vehicles. Ground crews wear high visibility vests. The blade throws material. Workers stay clear of the spread zone. Overcoming motor grader ditch cleaning problems includes maintaining safety.
A rock flew from a ditch pass and struck a worker. The worker wore safety glasses and a hard hat. The gear prevented serious injury. Your safety protocol protects the crew.
Results from Fixing Motor Grader Ditch Cleaning Problems
One county tracked results for two seasons. The crew fixed the 5 motor grader ditch cleaning problems. Flooding repairs dropped by 80 percent. Road edge repairs dropped by 50 percent. The county saved 35000 dollars over two years.
The road quality improved. The ditches drained properly. The pavement edges stayed intact. The traveling public noticed the safer roads. This complete fix improved the county road system.
Now Apply These Fixes
Check your ditch depth. Set it 12 to 24 inches below the shoulder. Check your ditch slope. Set it 1 to 2 percent downhill. Check your ditch shape. Match it to the road plan. Check for debris. Remove it before cutting. Check your blade angle. Set it to 30 to 45 degrees.
These fixes take minutes. The savings last for years. Your ditch stays open. Your road stays dry. Your repair costs drop.
Now go check your ditch. Resolving motor grader ditch cleaning problems starts with you. Watch the water flow. The road will stay strong and avoid any future motor grader ditch cleaning problems.